Riding in the rain means bike cleaning afterwards! As I was riding I was already thinking about how "jialat" the cleaning is going to be. Did the majority of the cleaning yesterday, such as cleaning the joints, brake pads, rims. However the most important maintenance, the cleaning of the drivetrain, was only done today.
Top 5 components to clean after riding in the rain:
1) Brake Pads: These virtually disintegrate in the rain, leaving black powdery residue all over the rims and brakes. (If you don't believe me, go look at your bike! Haha)
2) Rims: Clean off all the black residue from the brake pads, to minimise wear on the rims next time.
3) Friction Joints: Mainly for folding bikes, these joints WILL seize and make it impossible for you to move the joint if you don't clean it! Examples are the frame joint, handlepost joint. Also, remove your seatpost and top section of handlepost, and clean both the posts and the inside of the seatpost/handlepost tube. Wiping with a dry cloth or alcohol will do.
4) Chain: The rain would wash most of the lubricant off, so its important to degrease the chain and relube it. Also clean the other parts such as the chainring, cassette, jockey wheels.
5) Frame: If you are riding a steel bike, remember to use a water displacer such as WD40 or GT85 to flush out water from holes in your bike. Examples are water bottle cage holes, brake lever mounting holes etc. This will prevent/minimise rusting. Dahon bikes also have some small holes located along the frame tubes. It is a good idea to spray some into these holes too.
Planned to degrease the drivechain and relube the chain only, but ended up doing much more maintenance, haha.
I decided to remove the crankset and bottom bracket! Not really necessary even after riding in the rain, as long as the sealing is good. Still, I wanted to try removing it, as a sort of challenge.
After removing the left crank, the right crank was a bit tricky. A rubber mallet is usually needed to gently knock out the crank axle from the right side. I used a normal hammer with a thick rubber sheet instead.
 Hollowtech II cranks!
 Both the cranks removed.
 Hollowtech II Bottom Bracket.
The Hollowtech II Bottom Bracket tool is required to remove the bottom brackets.


 Both the left and right BB cups and the inner sleeve.
 Bottom Bracket Shell.
Took me quite a while to remove everything because it was the first time I am doing this. Also had to double confirm the direction to turn to loosen the bottom bracket cups. Cleaned off the dirty grease on every part. Before reinstalling everything, it is important to grease every part that will touch another component, such as the threads on the BB cups, the crank axle etc.
After that, the cassette on the rear wheel was also removed, so that the individual sprockets can be cleaned. At the same time, I also removed the freehub to have a look inside.
 Freehub with the pawls visible. Note the stack of sprockets behind!
 Ratchet inside the hub body.
 Used degreaser to clean everything, such as the chainring you see here. The right side as been cleaned, while the left side has not. See how big the difference is!
After a few hours, the cleaning was finally done! It took so long because I have two bikes to clean, my own Boardwalk and also the green Vitesse!
 Sparkling clean drivechain!
 Shiny chain after some light lubrication with Prolink Chain Lube.
After that, the cassette on the rear wheel was also removed, so that the individual sprockets can be cleaned. At the same time, I also removed the freehub to have a look inside.
 Freehub with the pawls visible. Note the stack of sprockets behind!
 Ratchet inside the hub body.
Did not clean the freehub as I did not have the proper lubricant for it. Apparently it requires a light grease, with a viscosity that is somewhere in-between an oil and a grease.
 Used degreaser to clean everything, such as the chainring you see here. The right side as been cleaned, while the left side has not. See how big the difference is!
After a few hours, the cleaning was finally done! It took so long because I have two bikes to clean, my own Boardwalk and also the green Vitesse!
 Sparkling clean drivechain!
 Shiny chain after some light lubrication with Prolink Chain Lube.
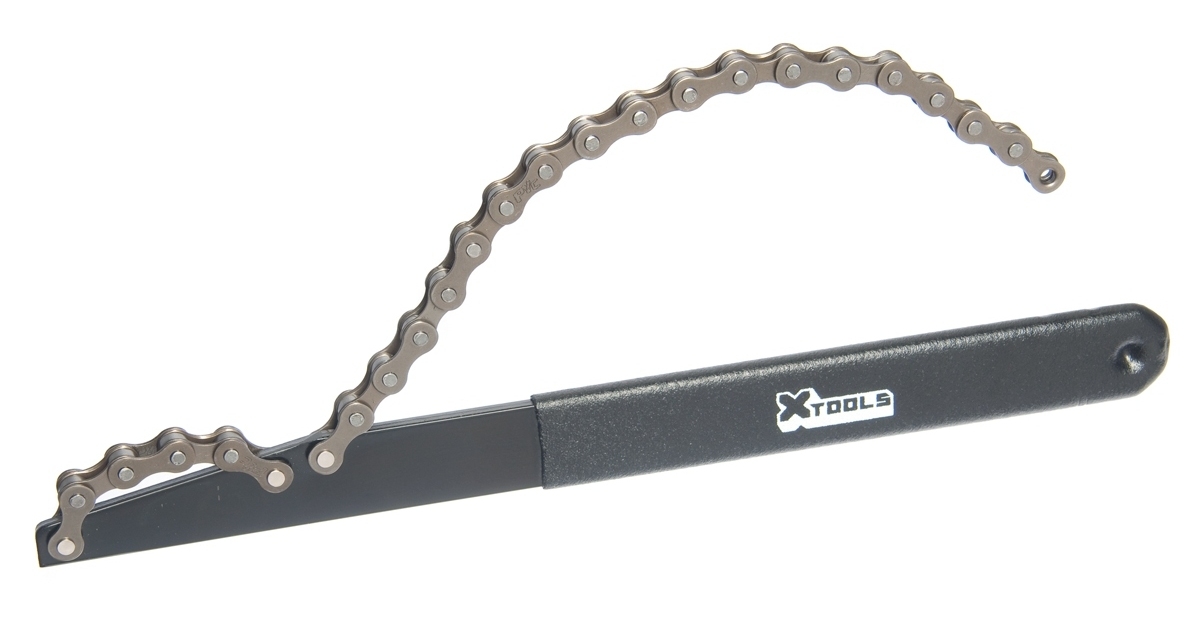
Today, besides cleaning the drivechain of the two bikes, I also learned how to disassemble and install the Hollowtech II crankset! Just follow the instructions found online and it can be done easily. Some things that are needed are the tool for removing the Hollowtech II BB and also some grease. To remove the cassette, the cassette removal tool and a chainwhip is also required.