Friday, June 24, 2016

Merida Reacto 4000: Part 2 - Disassembly (continued) and Restoration

This continues from the first part of the Merida Reacto 4000 disassembly, where the stock bike was being dismantled for cleaning. As the bike was quite dusty, it was necessary to remove the components for proper cleaning.

The next component to be removed was the crankset. As this is not the more common Hollowtech II crankset, it took me a while to figure out how to remove the crankset. Luckily it did not require any special tools, or it would not have been possible to remove it.

As a FSA Goassamer crankset, it is considered a mid-high end crankset, much like the Shimano 105 crankset. This FSA crankset does have a larger spindle which is 30mm in diameter, which is bigger and stiffer than the 24mm Hollowtech II type of spindle. Also, it has a BB386 spindle, which means that it is BB30 compatible, with a press fit BB width of 86mm.

Large diameter BB386 spindle looking pretty stiff

Weighs 519 grams on the right side including 52/36T chain rings

251 grams for the left crank arm, including the integrated crank bolt

Total weight of 777 grams including the spring washers. Very similar to the weight of the Shimano 105 5700 crankset.

Overall view of the clean crankset

Press fit bottom bracket in the frame. Nice and clean now!

After removing the crankset from the frame, it was easy to clean up the bottom bracket area. As it is a press fit bottom bracket, it is not worth the trouble to remove the bottom bracket.

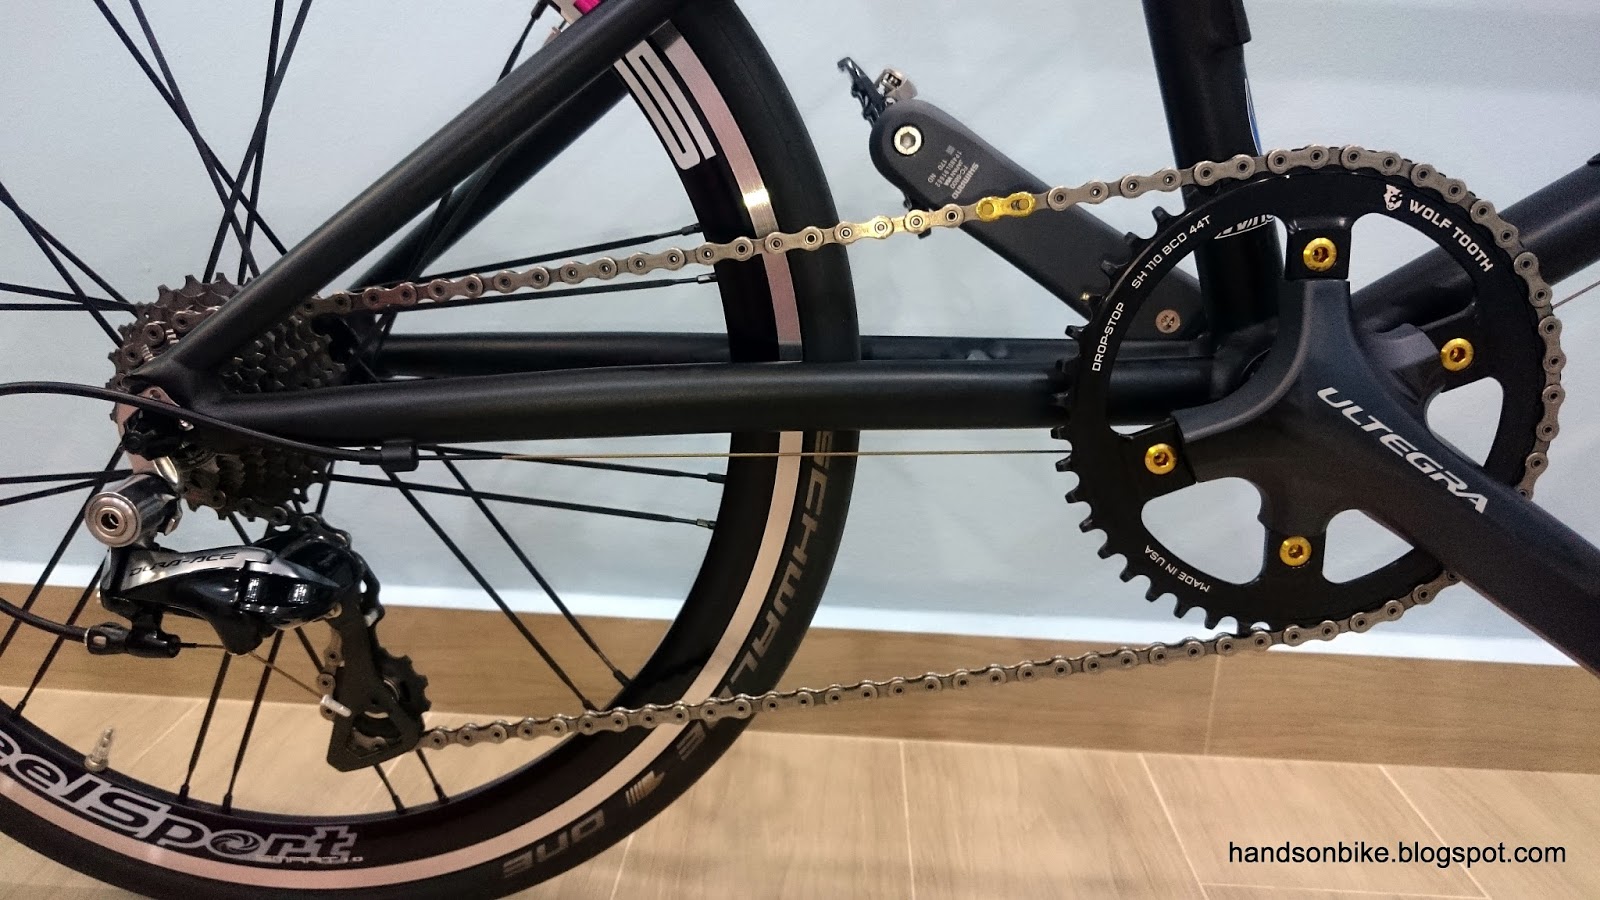
Also note the rear caliper brake which is mounted underneath the chain stays, supposedly for better aerodynamics as compared to being mounted on the seat stays. It is also a direct mount brake, which should give better braking force as compared to the usual type that is mounted with the centre bolt. One major disadvantage of being mounted underneath is the difficulty of servicing the brakes. Most of the time, it is necessary to remove the crankset or chain rings to make adjustments to the brake, as the chain rings will block access to the brake.

This bottom mounted rear brake also does not have a quick release adjuster, which makes it more troublesome to remove the rear wheel. More elaboration on this issue can be found later on.

Bike frame is flipped upside down for better cleaning of the rear caliper brakes.

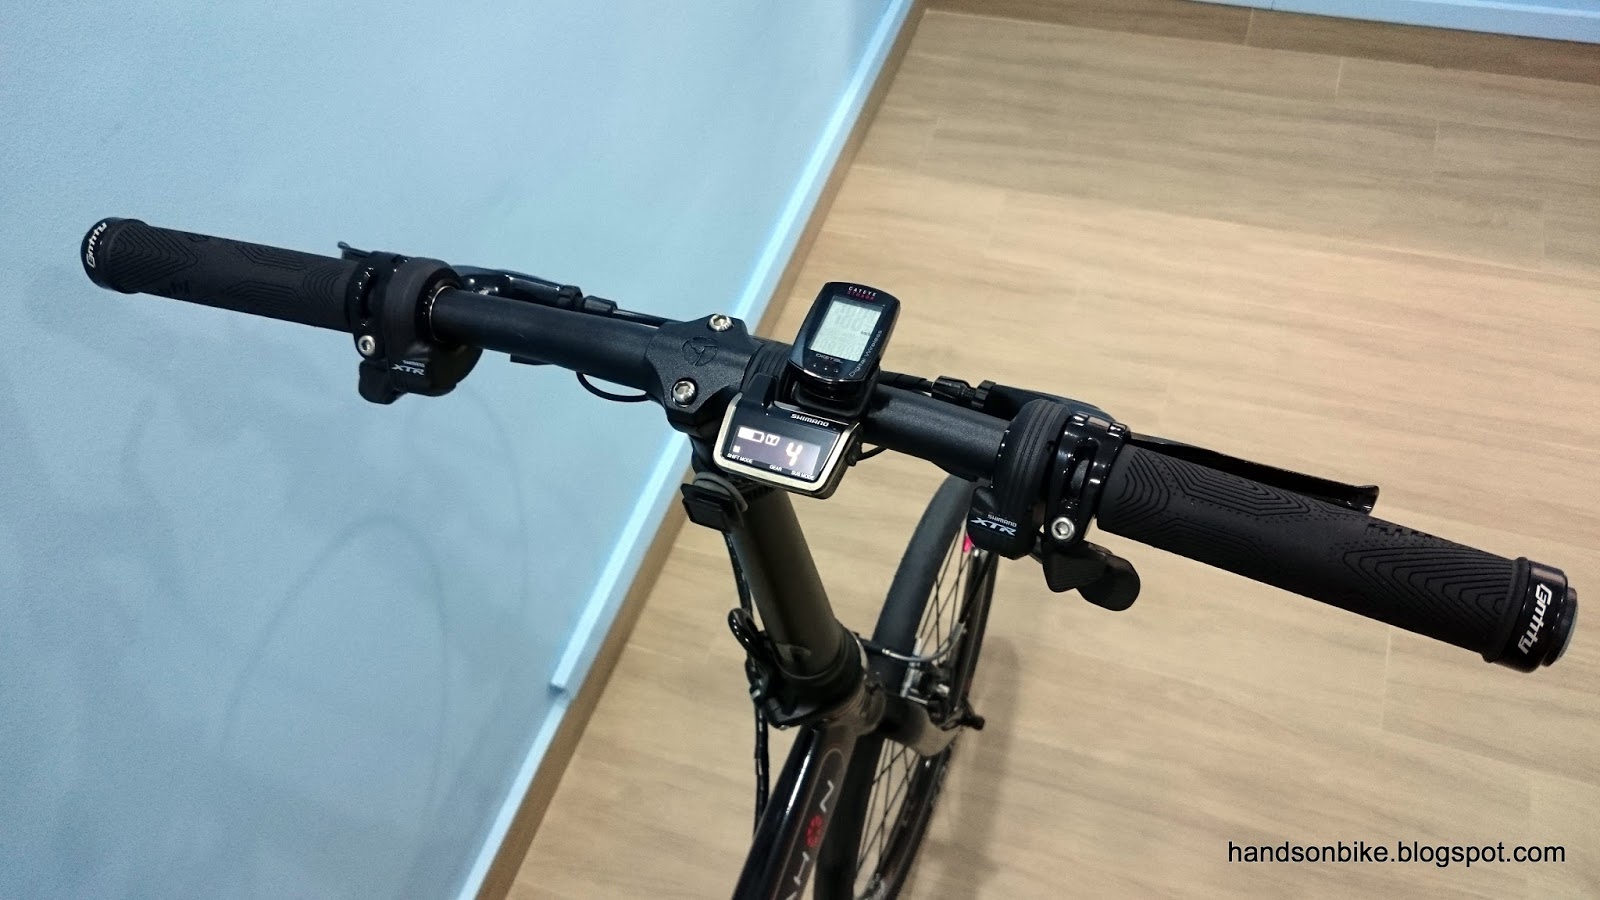
In order to allow the rear wheel to be removed, the rear caliper brake needs to be opened up. However, since there is no quick release adjuster, Merida added an inline cable adjuster to the rear brake cable, near the handlebar area (shown below). However, this is not ideal as it is not as convenient as a quick release lever, and is it not possible to get back the same cable tension setting after removing and installing the wheel.

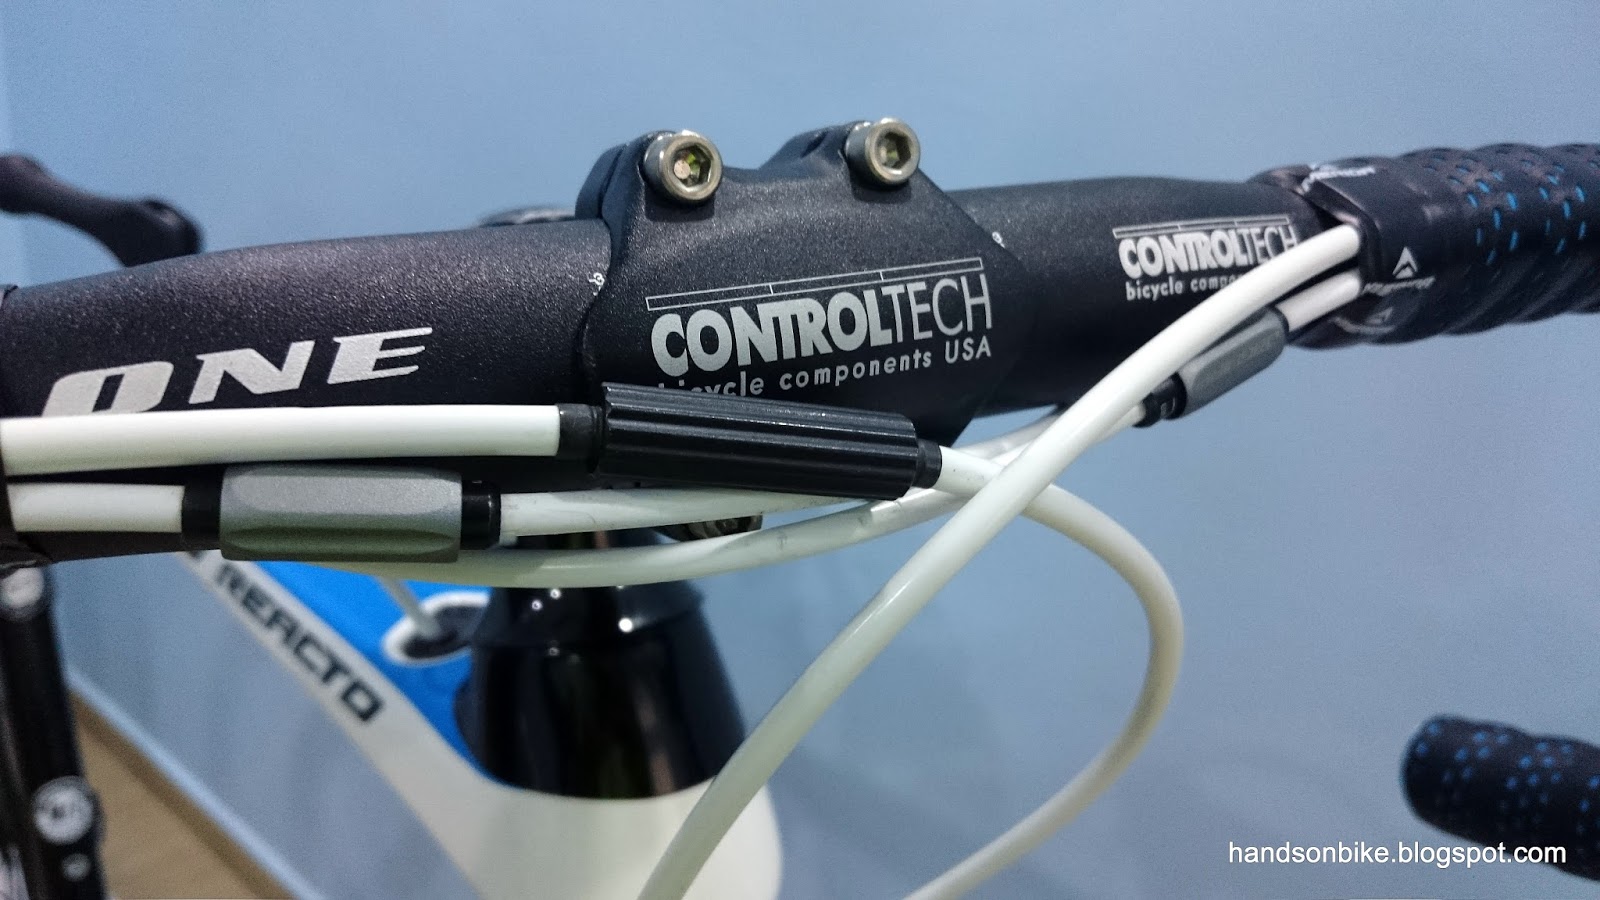
Original setup, with the inline cable adjust for the rear brake.

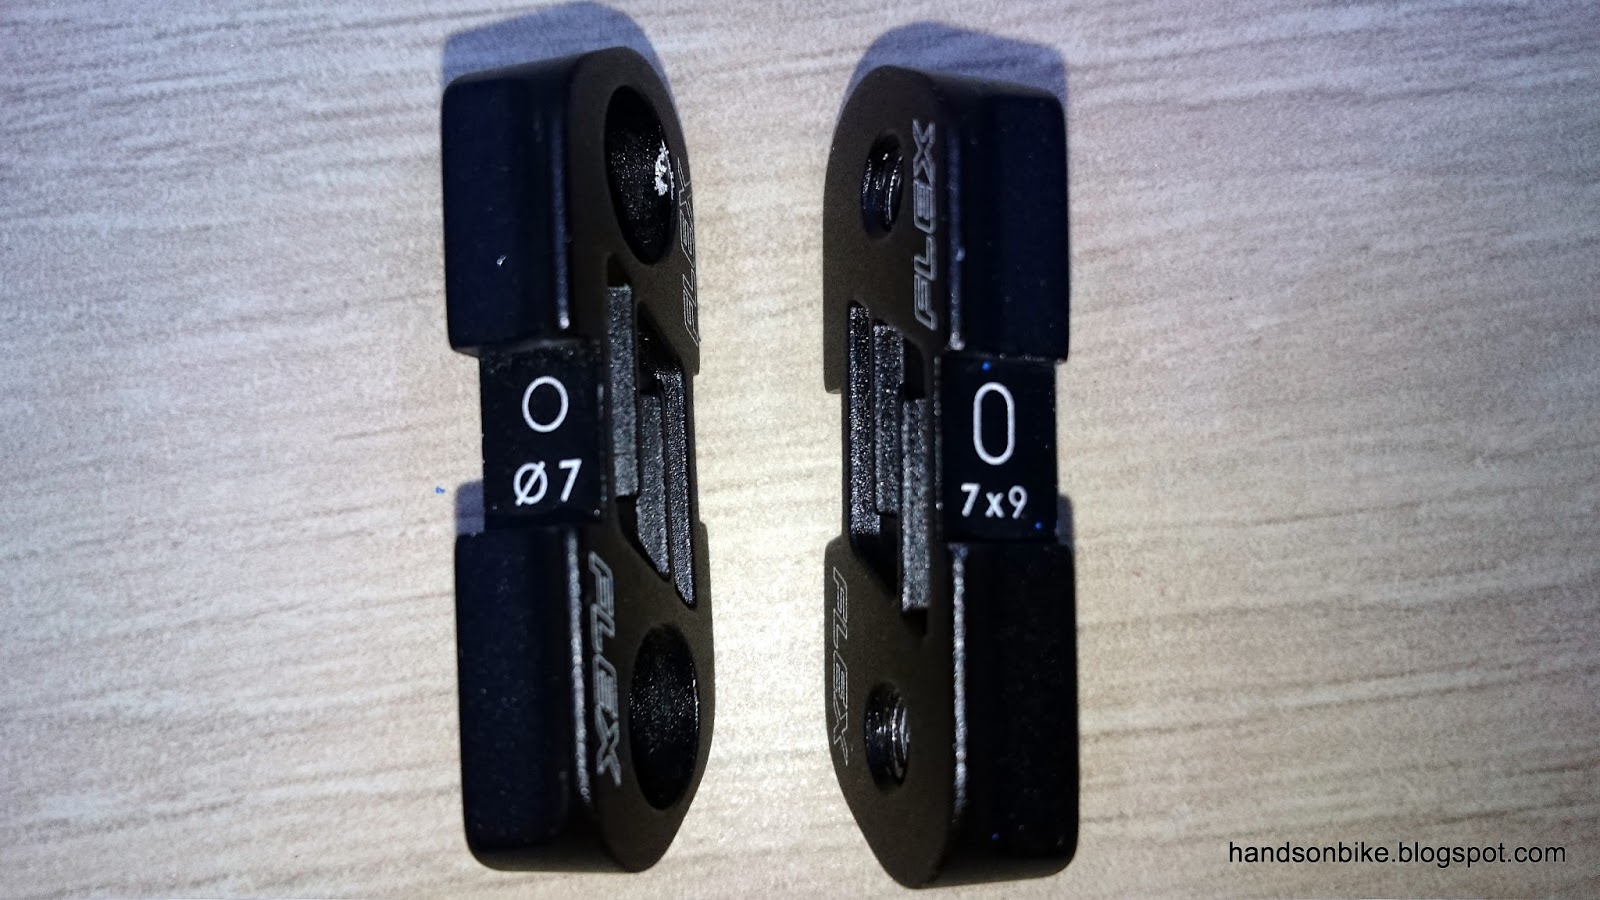
A better solution is to use an inline quick release adjuster, such as the Shimano SM-CB90 Brake Cable Adjuster, which has a quick release lever. This should have been used, instead of the stock cable adjuster, since the rear brake does not have a quick release lever. I decided to change the stock adjuster to the SM-CB90 brake cable adjuster for future convenience.

At the same time, since the original brake cable adjust needed to be removed anyway, I changed out the rear section of the brake outer casing to a new section. This involved some internal routing through the frame, and so it took quite a bit of time and effort.

Changed to the SM-CB90 Brake Cable Adjuster, which is the correct part to match the rear brake caliper.

Rear section of the brake cable outer casing, passing through the frame

Direct mount front caliper brakes by Tektro. Cleaned and lubed for smooth operation.

Scuffed right side shifter and name plate, which was probably sustained at the same time as the scratches on the rear derailleur.


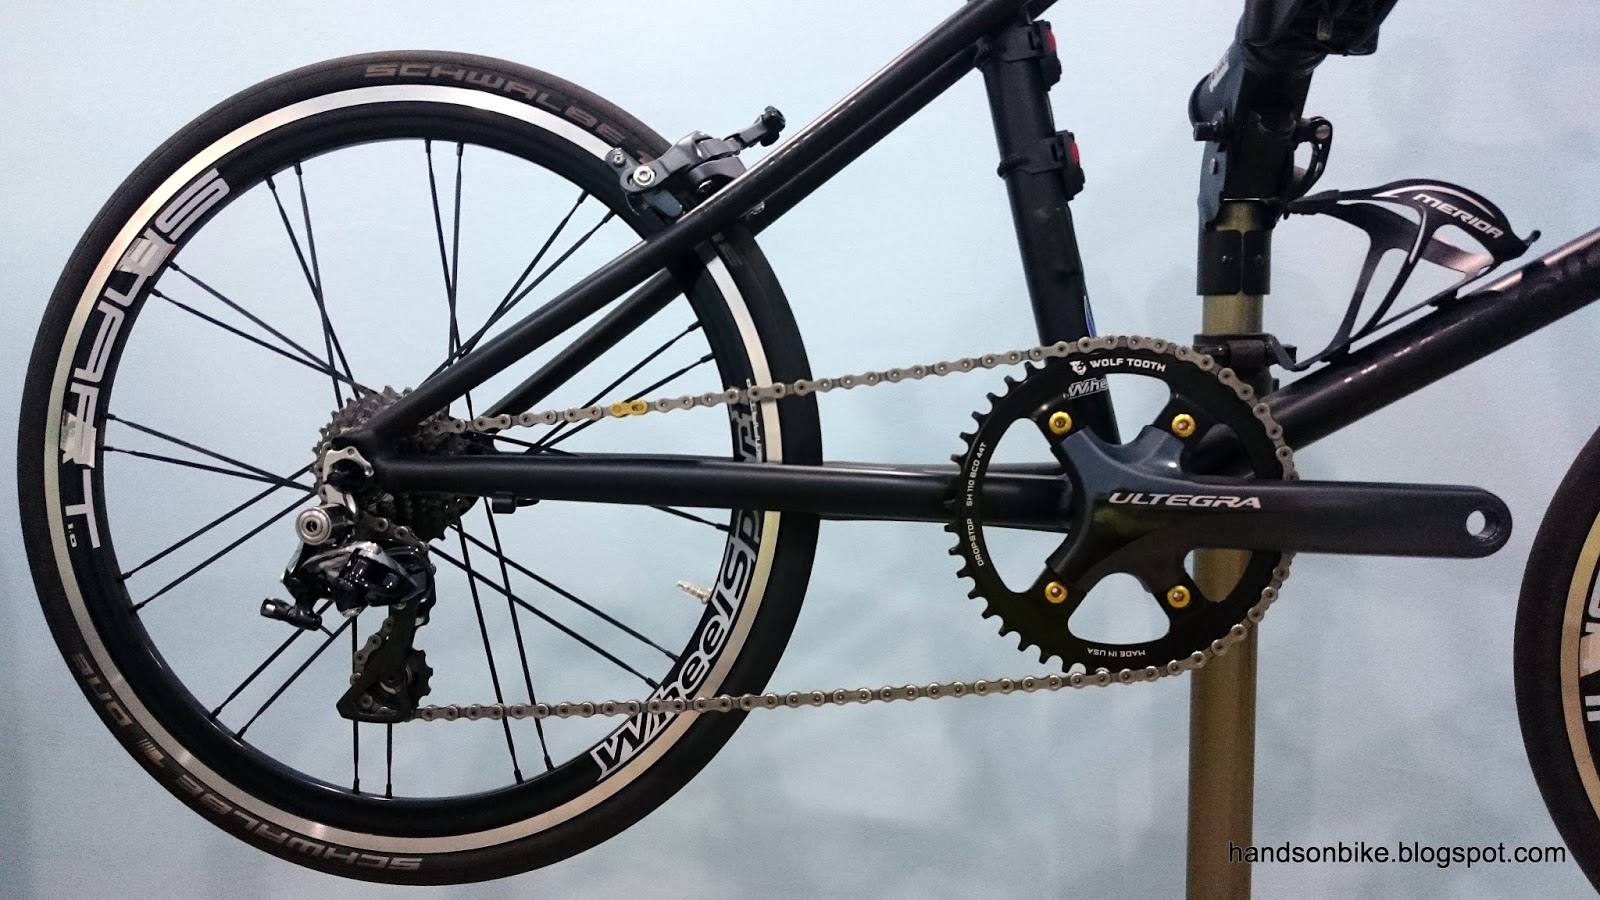
Cassette is clean and shiny after a thorough cleaning. As you can see, there is very little wear on the sprockets which means low mileage on this bike.

The shifters were not removed, because they were not really dusty, and also because it was too troublesome to remove the bar tape and the shifters. With that, the disassembly is complete!

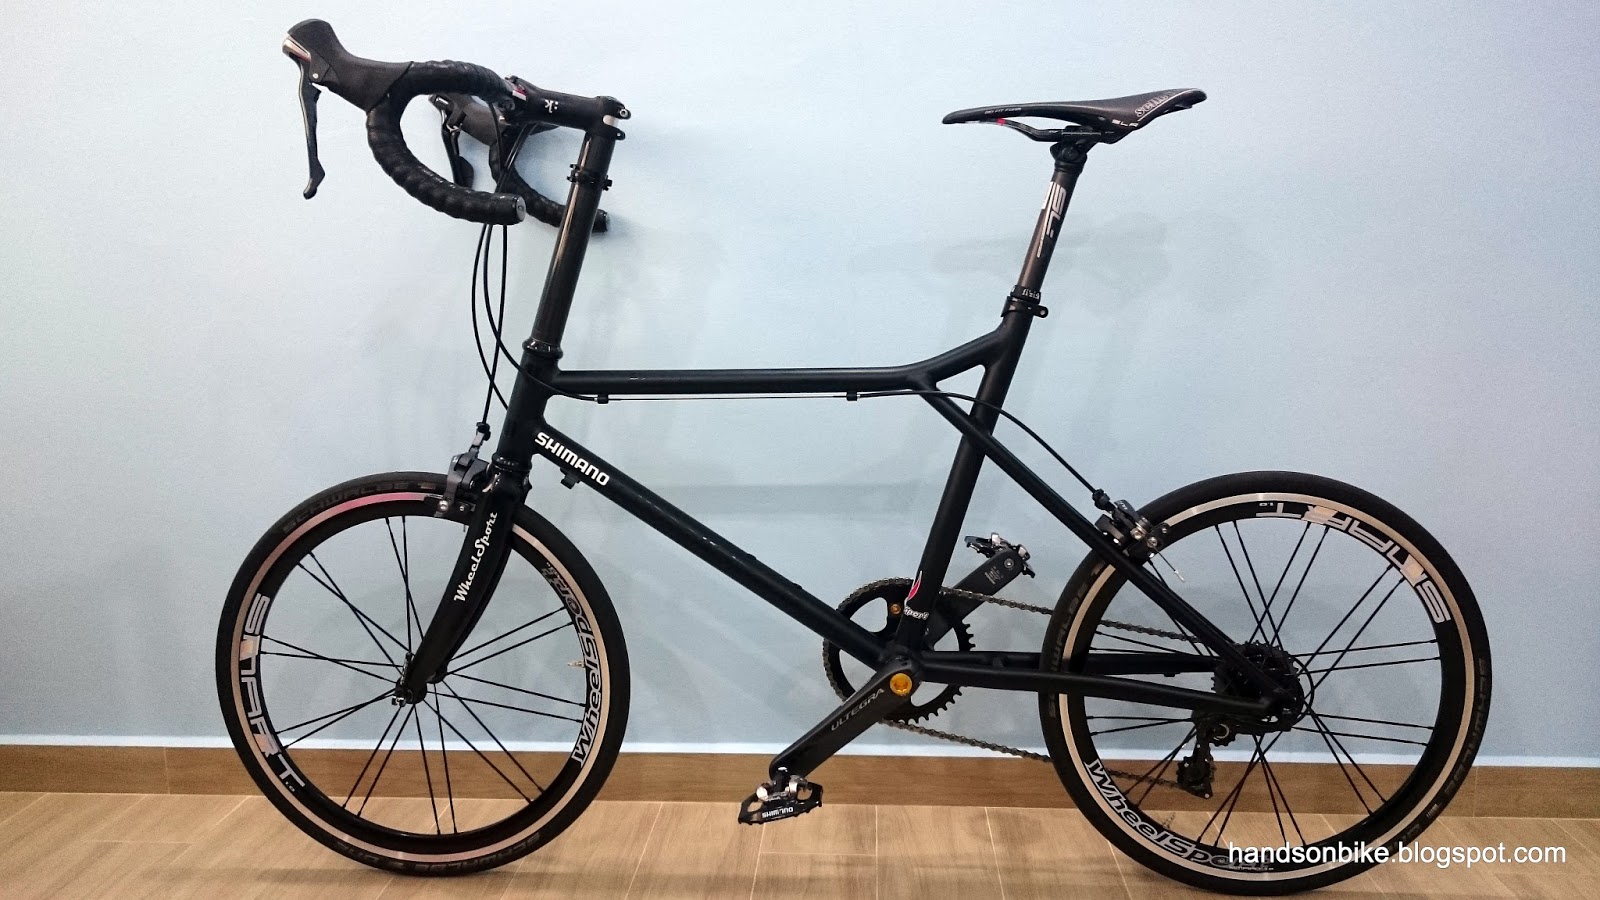
Now, since most of the components are already off the bike, I took the chance to clean and wax the bike frame. As a bike frame with a glossy finish, it is great to make the frame nice and shiny again.

It is now time to reinstall all the cleaned up components. Assembly in progress!

Bike is partially assembled, to be continued!

Part 3 to be continued

Friday, June 17, 2016

Merida Reacto 4000: Part 1 - Introduction and Disassembly

Recently I had a chance to restore an aero road bike, the Merida Reacto 4000 as shown below. This is a road bike by Merida, and it is an aero road bike, which means a more aerodynamic frame and component placement, as compared to a conventional road bike such as the Merida Scultura.

The way that Merida uses to label their range of road bikes is quite straightforward, as I will explain here. Merida road bikes are generally classified into two main groups, Road Race and Road Comfort. Road Race consists of Scultura and Reacto, whereas Road Comfort has Ride and Ride Disc.

Road Race
Scultura - Conventional road bike looks with an emphasis on a lightweight frame
Reacto - TT style of bike frame design with an emphasis on aerodynamics

Road Comfort
Ride - Road bike with more relaxed geometry and extra damping from lower seat stay placement
Ride Disc - Basically the Ride with disc brakes

For each of these categories, the numbering signifies the type of frame material (aluminium or carbon), and also the grade of components used.

3 digit numbers (Eg. 400, 500) - Aluminium frame
4 digit numbers (Eg. 4000, 5000) - Carbon frame

One great thing I admire about Merida is that for their aluminium frames, they try to replicate the look of the carbon frame. For example, the aluminium Reacto 400 looks very similar to the carbon Reacto 4000 in terms of frame shape. Only upon closer examination is the aluminium welding visible.

The higher the number, the higher the grade of components used. For example, the Scultura 400 is an aluminium frame with Shimano 105 components, while the Scultura 5000 has a carbon frame with Ultegra components.

With this definition, it is easy to know roughly the type and grade of the Merida road bike just by looking at the model name and the model number.

The Merida Reacto 4000 is a road race bike with an aero shaped frame made of carbon, and is equipped with Shimano 105 components. I already have the Merida Scultura 5000 myself, and this bike was what my friend bought as a second hand bike from another seller.

Merida Reacto 4000 in stock condition

I went along to check out the condition of the bike, and found that it was in good condition. It was covered in a thick layer of dust, which means that the bike has been sitting in a storeroom for at least a few months. There is quite little wear and tear on the components, which means that this bike has seen very low mileage. After checking to make sure that there is no obvious damage on the frame or wheels, and that all the components are working fine, the deal was closed at a good price.

Before it can be used, I wanted to give the bike a full service, and also ensure that all the components are installed well and adjusted properly. It also gives me a chance to learn more about this bike and write about it.

Stock bike weight of 9 kg without pedals. This is a size 54 frame. Not lightweight.

Thick layer of dust on the Shimano 105 rear derailleur. Slight scratch marks on the RD which means the bike probably fell on its side before.

Dust covered Shimano 105 11 speed cassette and chain. Very little wear or dirt which means either very low mileage or very well maintained.

Dust is everywhere, including on the hub and also the spokes.

It comes with a FSA chain, and also has a quick link for easy chain connecting/disconnecting

Lots of dust also on the Shimano 105 front derailleur and bottom bracket area

Since this bike is so dusty, it will be necessary to disassemble most of the bike for a thorough cleaning of the components before reinstalling them. Time to start work!

Upon removing the rear derailleur, I took the chance to check the alignment of the RD hanger as it seemed that the bike had fallen on the right side before, potentially affecting the RD hanger alignment. Therefore, I decided to use a RD hanger alignment tool to check the alignment. For a detailed guide check out this link.

Using the RD hanger alignment tool to check and adjust the alignment of the RD hanger. It was actually quite well aligned, and not much adjustment was required.

After removing the front and rear wheels, I cleaned the dust off the hub and the spokes, but left the tires on as there is no need to remove them for cleaning. It is also a good chance to weigh these deep profile 38mm wheels.

Weight of rear wheel + tire + inner tube is 1680 grams.

Weight of front wheel + tire + inner tube is 1454 grams.

This gives a total wheelset weight (including 2 x inner tubes and 2 x tires) of 3134 grams. For comparison, the Ultegra 6800 wheelset on my Merida Scultura 5000 weighs about 2300 grams, which means a weight difference of more than 800 grams! This is a very significant weight difference for these aero wheels.

Merida Reacto stock wheelset with 38mm rims

Moving on, I continued the disassembly of the bike by removing the seat post and saddle. As usual, I took the chance to weigh the parts for future reference.

Wedge type of seat post locking mechanism, found recessed on the frame

Double chamber seat post tubing for the aero shaped seatpost. Not so nice surface finishing on the inside.

Rubber damper on the seat post for more comfort. Effectiveness is unknown.

Innovative seat rail design, with reversible clamps that can accommodate a round saddle rail or oval shaped carbon saddle rails.

Aero carbon seatpost weighs 291 grams. Considerably lightweight considering the chunky clamp design and the rubber damper.

Stock saddle on the Reacto 4000. Not lightweight, but looks good and is quite comfortable.

Current condition of the Merida Reacto 4000, with most parts disassembled for cleaning.

Disassembly is not completed yet, as I will still be removing the crankset for cleaning. To be continued!


Sunday, June 12, 2016

Dahon MuEX: Ergon GP1 Grips

It has been more than two years since I built up the 2x10 speed Dahon MuEX from scratch. From a mechanical shifting 2x10 speed system to a electronic Di2 Ultegra/XTR hybrid, it has worked very well. As far as I know, it is a unique setup as I have not seen other Di2 folding bikes with this setup.

Recently I decided to change out the grips for something more comfortable for longer rides. The original grips which was installed was a normal lock-on type round grip which was taken from the Polygon mountain bike. It is lightweight and looks good, but due to the normal round profile, it can be uncomfortable on the wrist for longer rides due to no support for the palm of the hand.

Original "Entity" branded grips transferred over from the Polygon mountain bike

In order to improve the wrist comfort, I have considered changing to Ergon grips for a more comfortable grip and more palm support. However, the concern was whether the extra material on the grips will interfere with the folding of the bike, as the grips will come very close to the front wheel rim during folding.

After deliberating for a long time, I finally decided to get the grips to try out. Hopefully the Ergon grips will fit and not interfere with the folding. If it does interfere, I can always put it on another bike instead.

The Ergon grips which I chose was the basic version, the GP1. I had a choice of small size or large size to choose from, and I chose the S size after comparing the two in the shop.

Ergon GP1 grips, small size 

Standard type, with both the left and right side the same length

Weighs 165 grams for the pair

Once again, a picture showing the original grips before changing to the Ergon grips

Weight of the Entity branded grips, 110 grams. This means a weight increase of 55 grams when changing over to the Ergon grips.

Ta-da! New Ergon grips installed. The shifters and brake levers had to be shifted a bit as the grip lengths were a bit different.

Looks more comfortable with the new Ergon grips!

Finally, checking the clearance of the grip with the front wheel rim and tire during folding. Luckily, there is no interference.

With this new Ergon grip, it is much more comfortable for the wrist on longer rides, as there is additional support for the palm of the hand. I have used Ergon grips on my Dahon Boardwalk before, before the flat handlebar was changed to a bullhorn bar and then a drop bar. These type of grips are highly recommended for flat handlebar bikes due to the extra comfort it gives.

Thursday, June 2, 2016

Wheelsport Fantasy Mini Velo: 1x11 Speed Lightweight Setup - Part 3

With the new 1x11 speed drivetrain and the modified components prepared, it is time to assemble the Wheelsport Fantasy mini velo! Before that, most of the components had to be removed from the bike. This is also a good time to give the bike a clean up.

Wheelsport Fantasy mini velo with most of the components removed

The Ultegra 6800 road caliper brakes will still be used, although it would be possible to save another 40 grams if it is upgraded to Dura-Ace 9000 brakes. However, it would cost another $300 to upgrade to Dura-Ace brakes.

One cheap way to lose weight is from the bottom bracket. The gold coloured Aerozine ceramic BB is very smooth, but it is also a bit heavier than the more lightweight SM-BBR60 Hollowtech II BB. Might as well give it a try, as the black colour matches well with the frame too.

New SM-BBR60 Hollowtech II bottom bracket installed

The Ultegra 6800 rear derailleur can also be changed to a more lightweight version, the Dura-Ace 9000 RD. This was originally on the Merida Scultura 5000, which was recently changed to Ultegra Di2. The Dura-Ace RD is very lightweight at just 160 grams. To see the differences between Ultegra 6800 and Dura-Ace 9000 RD, check out the comparison here.

I actually wanted to change to a clutch rear derailleur, such as the mountain bike Shadow Plus RD that has a clutch to prevent chain bouncing when traveling over bumpy terrain. This will also help to retain the chain on the chain ring. However, there is no clutch road rear derailleur that is compatible with the road shifters, so I just used the standard road rear derailleur.

Dura-Ace 9000 11 speed rear derailleur for extra weight savings

The cassette will remain as the Dura-Ace 9000 11-25T cassette, same for the Dura-Ace chain. Finally, the Ultegra 6800 crank arm with the Wolf Tooth narrow wide chain ring will be installed!

New 1x11 speed drivetrain, with a mixture of Ultegra and Dura-Ace components

The new chain ring on the crank arm looks really nice, especially with the outstanding gold coloured chain ring bolts. It has a very clean appearance, without the complexity of the double chain rings and the front derailleur.

With the drivetrain installed, the next step is to install the road shifters and connect up everything. As planned, a Dura-Ace right side shifter will be used, together with the modified Ultegra left side shifter. These will be installed on the lightweight FSA K-Force compact road handlebar, which is used on both the Merida Scultura 5000 road bike and this Wheelsport Fantasy mini velo.

Dura-Ace right side road shifter for 11 speed shifting, Ultegra left side road shifter without shifting function.

While removing the brake and shifter inner cables and outer casing from the original Ultegra shifters, I took the chance to consolidate and weigh them. This includes the front and rear brake cables, and the rear shifter cable. With this actual measurement, it will give a more accurate theoretical weight calculation, as inner cable and outer casing weight is usually unknown.

Weight of front and rear brake cables, plus rear shifter cable is 160 grams

Road shifters connected to the brakes and the rear derailleur

Close up view of the 1x11 speed drivetrain with the cables connected

Gold coloured chain ring bolts and crank arm fixing bolt makes them stand out more against the black frame

Almost ready to go for a test ride. Bar tape is not wrapped yet as I might need to adjust the shifter positions.

Pedals installed and ready for a test ride!

During the brief test ride, my primary concern is how the narrow wide chain ring will perform. Without any chain guard, chain spotter or front derailleur, the chain might come off the chain ring during shifting. I have to trust that the narrow wide design really works to keep the chain on the chain ring.

Other than checking if there will be chain drop, I also checked if there will be a rough pedaling feeling at extreme gears such as Gear 1 and Gear 11, where the chain will slant more to the side.

As for the other functions such as braking or shifting, it will be similar to the previous setup, so there should not be any problem.

The results of the test ride were good, as there was no chain drop even during aggressive shifting while pedaling. There is some slight rough feeling during pedaling when in the extreme gears, but it is still acceptable.

With the test ride completed, the shifter positions can be confirmed, and the bar tape wrapped

Very clean bike cockpit, with nothing mounted on the handlebars. I plan to keep it this way, without any cycle computer on this bike.

Using the same lightweight and yet comfortable Selle Italia SLR Kit Carbonio Flow saddle, with the shortened FSA SL-K carbon seat post

Full bike view with a minimalist look, without extra accessories on the bike. A mini velo built purely for a lightweight, high performance fun ride.

Wheelsport Fantasy Mini Velo, with a 1x11 speed drivetrain

Full specifications of the final setup, with a weight (without pedals) of just over 7.3 kg!

With the conversion from 2x11 speed to 1x11 speed, along with some weight savings from elsewhere, the total weight loss is slightly over 400 grams. This may not seem like much, but considering that it was already a lightweight bike to begin with, this is a pretty good outcome.

Also, the frameset itself is already over 2.5 kg, as compared to a typical carbon road bike frameset that is below 1.6 kg. This means that despite the disadvantage of having a heavier frame to start with, this mini velo is still able to achieve a weight of just 7.3 kg (without pedals).

The most important thing is, how does it ride? After extended test rides on my usual routes, I found that this 1x11 speed gearing is sufficient 99% of the time. The other 1% where the gearing is not quite sufficient is during short sprints, where the speed briefly passes 40km/h. However, this is not a major issue for me as this is not that common.

As for the lowest gear, I have not tested it on steeper slopes, but it should be low enough to handle most slopes. With the lowest gear inch at 38.7, it is just one gear higher than the lowest gear inch on the Merida road bike (34 gear inch), which should allow it to handle 90% of the slopes that the road bike can handle.

The narrow wide chain ring is also working perfectly, as I have not experienced a single chain drop on my rides. It seems that there is no need for a clutch rear derailleur if I am just riding on roads or PCN, as the surface is smooth and does not bounce the chain off.

With this, the project is completed! I have successfully managed to rebuild the bike with a setup that is unique and different from my other bikes. Each of the bike now serves a dedicated purpose with minimal overlapping characteristics.