Wednesday, March 21, 2018

Cycliq Fly6 CE - Rear Camera + Rear Light

If you don't already know, Cycliq makes the Fly 6, which is a rear camera plus rear light for bicycles. I have been using it since the second generation Fly 6 came out, which is more than 3 years ago. It is so popular because it is easy to use. Turning on the rear light also turns on the rear camera, and the video recording overwrites the earliest data when the memory card is full, similar to a car camera. This removes the need to manually delete the footage on the memory card when it is full. The only time you need to remove the Fly 6 from the bike is when you need to charge it, or when you are using it on another bike.

Recently, the Fly 6 was updated again, to Fly 6 CE, which stands for Connected Edition. It can now be linked to the Garmin cycle computer, so that you can control the recording or the light modes from the computer. Not that I need it, as I don't think I need to change the mode on the go. However, what attracted me to the latest version is the upgraded video quality.

The previous versions had a video quality of HD, which is 720p. However, under less ideal lighting conditions, the video footage will become grainy and low quality. The new Fly 6 CE has increased the resolution to Full HD, 1920x1280p at 60 frames per second! This is excellent and it is my main reason to upgrade to the Fly 6 CE. For examples of video quality, just check out Youtube.

New all black design makes the light looks more sleek and less obtrusive.

New packaging

Similar layout, with the big camera lens on top and the LEDs below. The casing is now all black instead of red to blend in with the bike.

Power/mode button on the side

Brightness selection button on the other side. 

The charging port (USB-C) is on top, right beside the Micro SD card slot. Covered by a rubber flap for rain resistance.

Instead of strapping the whole unit to the seatpost, it now attaches to a bracket via a twist type mount, similar to the Garmin type. The bracket remains on the bike.

Weighs 112 grams without the mounting hardware

Comes with a whole bunch of rubber shims, velcro strap and bracket to match almost any kind of seatpost.

Weighs 127 grams with one set of mounting.

Taking a closer look at the bracket, I found that it only works in one direction, as there is a stopper. No wonder I could only twist it in one direction instead of both directions like on the Garmin.

Installing and removing the fly 6 CE is easy, just twist it off like the Garmin.

Comparing the size to the previous version, the Fly 6 [v]. Much smaller in size as the mount is not part of the unit.

Much bigger lens on the new version!

Ring of red light around the lens, a signature design of the Fly 6.

The LEDs are really bright, and I find that using the low or medium brightness mode is sufficient.

For full HD recording at high FPS, a high performance micro SD card is necessary. This one is on Cycliq's list of recommended micro SD cards.

The camera and lights work well, and can be configured on the phone by downloading the app. However, the PC app does not work no matter what I try, luckily it works on the phone app.

Another issue is the poor quality of the velcro strap. It has a rubber coating for improved grip with the seatpost, but this layer of rubber peels off easily. Not a big issue as it can be solved by some DIY, just a little bit annoying that this is happening when it is new.

Black rubber layer peeling off the back of the velcro strap.

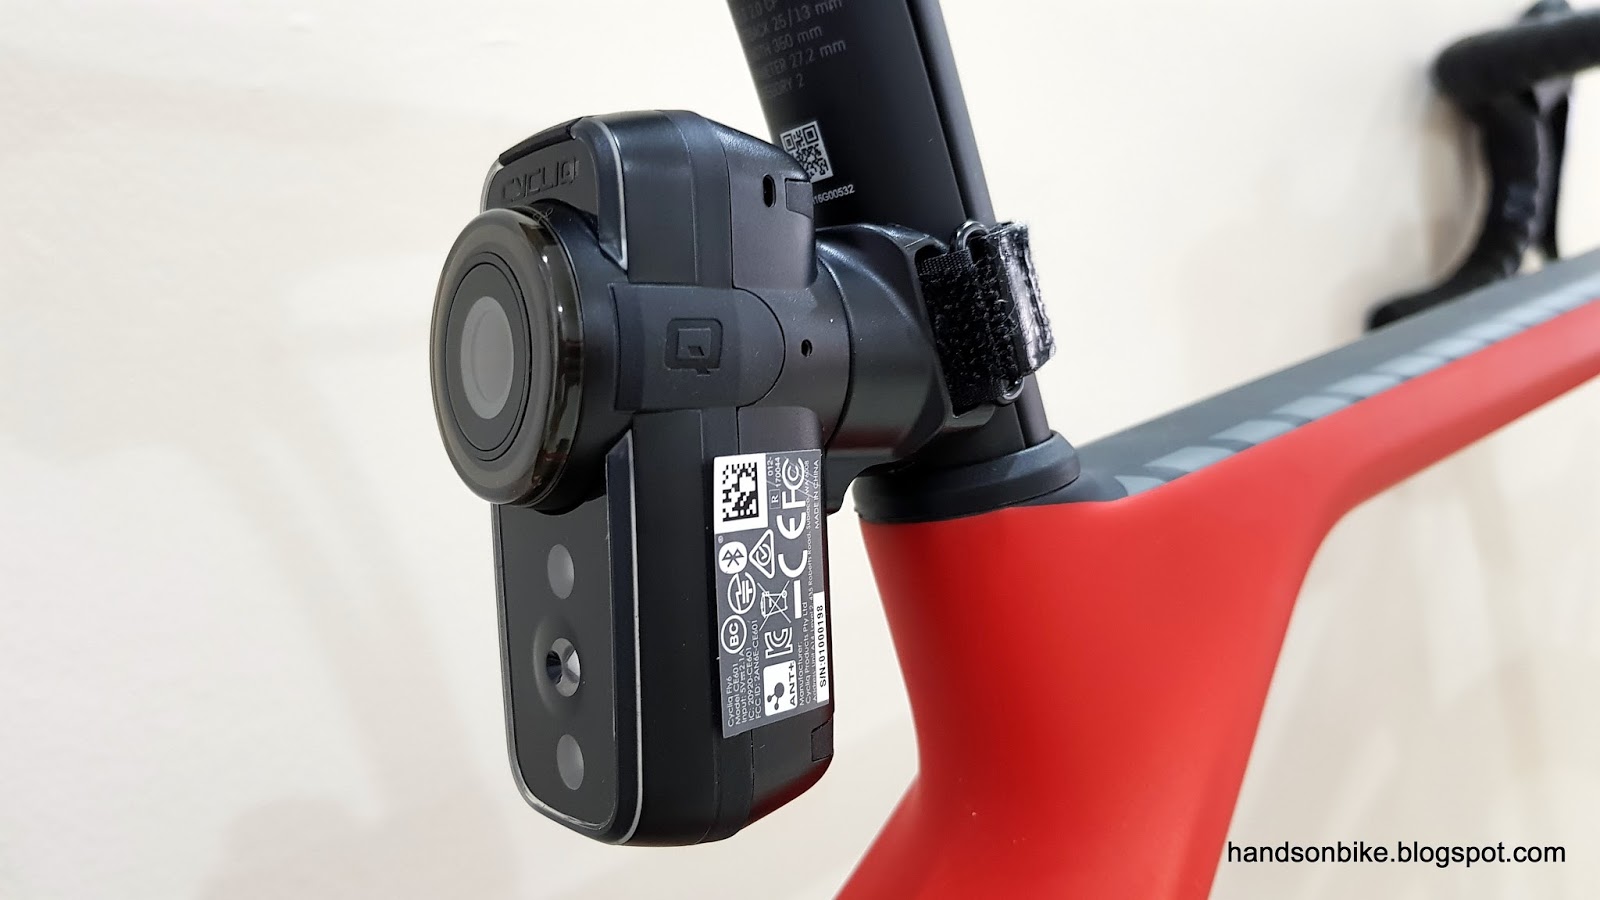
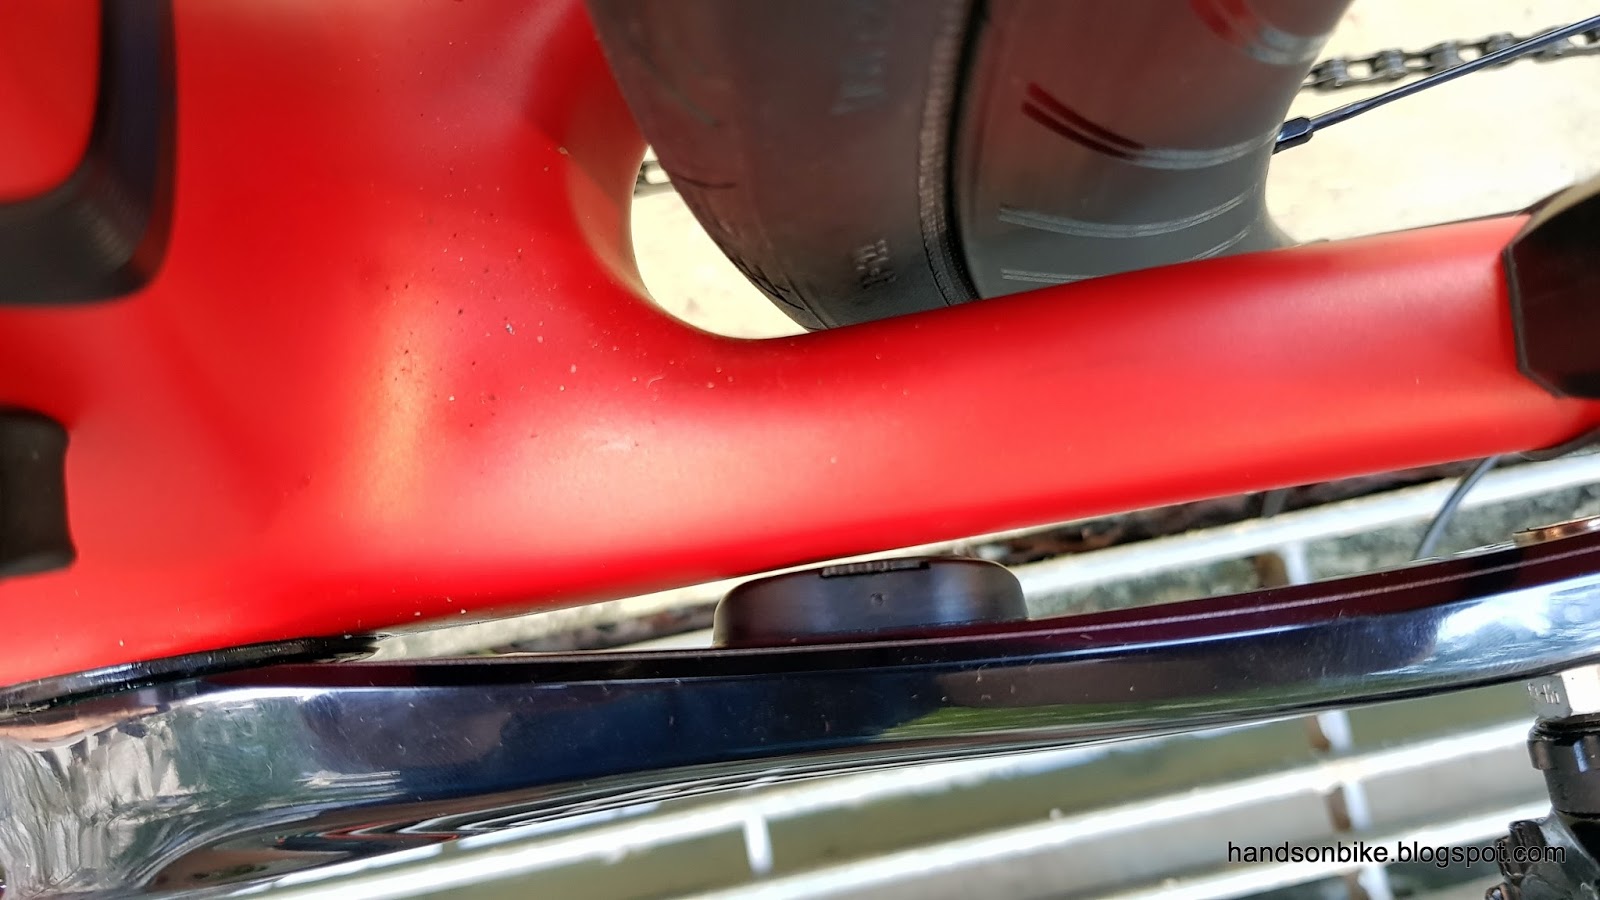
How it looks as mounted on the bike! All black look matches the bike well.

New bracket has a lower profile, which is good as it ensures that the VCLS seatpost can work properly without being constrained by the velcro strap.

For a super detailed review, refer to the one by DC Rainmaker, which is the benchmark for a good reviews with technical details and unbiased comments.

Sunday, March 18, 2018

Canyon Endurace: 4iiii Precision Power Meter on Dura-Ace R9100 Crankarm

In recent months, I decided to get a powermeter to use on my bike, in order to gauge my effort numerically. Although I can generally feel the resistance, and roughly tell whether it is a "strong headwind" or me having an off-form day, it is more accurate to have a powermeter to show the actual wattage used during the ride.

The speedometer can tell you the actual speed, but it cannot indicate how much effort is used to travel at that speed. When you are moving fast, it can be due to you pedaling hard, or it is just the benefit of having a good tailwind. On the other hand, when you feel that you are moving slowly even though you are putting in considerable effort, it can be due to tiredness or something else (such as slight uphill, slight headwind or rubbing brakes, for example).

With a powermeter, it will be easy to tell the power required to sustain a certain speed. Most people use powermeters for training purposes, so that they can gauge their effort and stick to their training plan. However, I only intend to use it to collect some data, not for training.

There are many brands and types of powermeters available, such as pedal type, chainring type, rear hub type, crank arm type, etc. I decided to get a simple one-sided powermeter, as I don't need the accuracy of a dual-sided powermeter.

For one sided power meter, Stages and 4iiii are the more popular ones available, with a similar cost. Stages came out with the left crank arm powermeter first, but they have been having some quality issues from what I heard. Therefore I decided to get the 4iiii power meter which is also a left crank arm type.

Installation is as straightforward as it can be, as you basically just replace your existing left crank arm with the one from the 4iiii factory, which has already been fitted and calibrated with the strain gauges on the left crank arm. It is also possible to send in your existing left crank arm for them to install the power meter, but that may be too much trouble especially if you are located halfway around the world.

4iiii Powermeter, which claims to be the lightest left side powermeter.

Set up instructions are printed on the inside of the box.

As I plan to install the powermeter on the Canyon Endurace road bike, I got a crankarm that matches the groupset. As already done earlier, the Dura-Ace R9100/9170 groupset has already been installed on the bike, therefore I need to get the model that uses the Dura-Ace R9100 left side crankarm.

When I ordered the powermeter, the crankarm was not in stock, so I had to wait about a month before I received it. Here it is!

Dura-Ace R9100 left side crankarm

Super glossy surface finishing as seen here

4iiii sensor glued to the back of the crankarm. Most of the bulk is actually taken up by the coin type battery.

Relatively low profile, should clear most chainstays, unless your bike has a special chainstay profile.

165mm length to match the right side crankarm

Battery cover taken off to show the battery. Easily replaceable when it runs out of power.

Weighs 182 grams including the sensor! The regular crankarm without the sensor weighs 173 grams, so the sensor weighs just 9 grams. Super lightweight powermeter indeed.

Sufficient clearance between the sensor and the chainstay. 

Installation is easy, just use this crankarm with powermeter instead of the normal one that comes with the crankset. After that, link it to your cycle computer via ANT+, then calibrate and zero the powermeter as per the instructions.

From the data, I can see that it takes roughly 130 watts to pedal at 30km/h on the Canyon Endurace, on flat ground and no wind, and without drafting. To go at 40km/h will require about twice the power! I can only sustain this power over a short stretch.

Pro cyclists regularly cycle at over 40km/h, which means that their power output will normally be 200 watts or more. This is already accounting for the drafting effect when riding in a group.

In a way, having this data helps you judge your pedaling effort and how much more you need to go faster. For example, if I want to sustain 35km/h instead of 30km/h, I will need to raise my power output from 130 watts to 180 watts! That is a big jump and it will take a lot of training to sustain this power for a meaningful amount of time.

However, if you are drafting, you can save about 30% of your energy if you do it correctly. Therefore, if you are drafting behind somebody, you can go at 35km/h while using about 130 watts. In other words, if you can output 130 watts, you can ride at 30km/h solo, or 35km/h when drafting.

The best part about this powermeter is that it is super low maintenance and fuss free. The battery lasts a long time, and there is no need to calibrate or pair it every time you ride. It is also very lightweight and small sized, and is hardly visible on the bike.

Friday, March 9, 2018

Canyon Endurace: Installation of Dura-Ace R9170 Components

Finally, after taking a detailed look at each of the new Dura-Ace components, and also the Canyon Endurace frame, it is now time to install everything onto the bike!

From a bare frame, it takes quite a bit of work to assemble all of the components. The most tricky and troublesome part are the hydraulic disc brakes, which takes some time and also requires other people to help with the bleeding of the brakes.

Full Dura-Ace R9170/R9150/R9100 groupset that will be going onto the bike!


Dura-Ace R9100 11 speed 11-30T cassette installed onto the rear wheel

Front hydraulic disc brake caliper with adapter

Dura-Ace bottom bracket, press fit type SM-BB92

New 11 speed chain CN-HG901. I did not reuse the stock 11 speed chain as it went onto the Dahon MuEX along with the cassette, rear derailleur and crankset.

There are no photos of the installation process, as my hands are usually working on something, or is greasy or oily. What you will see here is the final result of the full bike assembly.

Integrated handlebar and stem, with shifters installed, bar tape wrapped and Garmin in position.

Front view


Comparing the geometry to my other hydraulic disc brake bike, the Avanti Inc 3, the reach is actually a little bit shorter!

Junction A located at the front of the downtube, in an unconventional place.

Rear hydraulic disc brake caliper with adapter for 160mm rotors

Front hydraulic disc brake caliper, also with adapter for 160mm rotors

Big and chunky Dura-Ace R9100 crankset! 50/34T compact size, with 165mm crank arm length.

Dura-Ace Di2 front derailleur

Dura-Ace Di2 rear derailleur, with Shadow construction for a low profile

Overall view of the 2x11 speed Dura-Ace drivetrain

Fresh bike build with no accessories such as bottle cages or lights installed. With all components being black in colour, the frame colour really stands out!

Clean cable routing, with the cable or wires visible only in between the stem and the head tube. Relocating Junction A away from the stem did make it look a bit neater, but not by much.

Outdoor full bike shot, with all the usual accessories installed

Full bike specifications and weight

The theoretical full bike weight (without pedals) is about 6.9 kg, which is a bit different from the actual weighed value of 7 kg. Not a big issue at all, as this is still a lightweight bike! More so given that this is a hydraulic disc brake setup, which is roughly 300 grams heavier than a mechanical brake caliper setup.

The only place where significant weight can still be shaved will be from the wheelset, where a tubular wheelset can reduce maybe another 300 grams. Weight savings from other components will be minor and not really cost effective.

With such a nice road bike setup, the limiting factor is not the bike but the rider, as it is most of the time. Although I am not a pro rider or even a high mileage rider, I can still appreciate riding a good road bike.

Some people have this theory that if you don't ride so often, you don't need such a good bike. However, I feel differently. If I don't ride so often, then every ride is precious and I would like to ride a good bike on these rides! Life is too short to waste on riding lousy bikes, so if you can, get a nice bike that you can afford and ride it well.